-
-
If you have set up a different extruder steps/mm value (e_step) than stock in the past we recommend resetting it to its default.
-
E step calibration isn't a reliable way to calibrate your extrusion because you are not measuring where it matters (what goes out of the nozzle). It is also a painful process to adjust e_step per type of filaments, the extrusion multiplier in PrusaSlicer is a lot easier to handle.
-
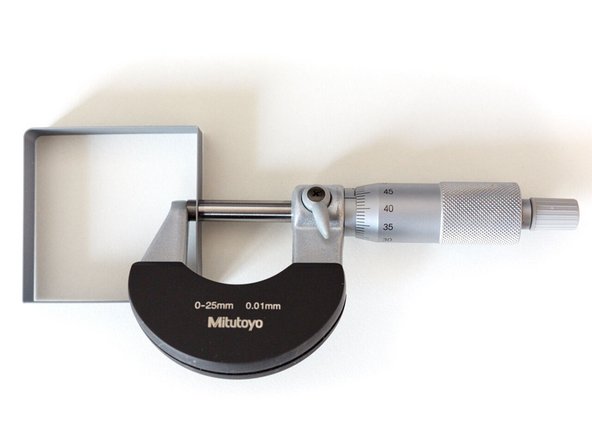
We recommend a micrometer instead of a caliper for the following steps. Calipers are not precise enough to measure such small values and a micrometer has a ratchet system made to apply same pressure for all measures.
-
If you still want to use caliper, make sure to always use the same pressure when you measure and don't press too strongly.
-
Tip: If you like to buy a micrometer, choose a quality one. We can recommend Mitutoyo 102-301 for its low price and quality. You can also check second hands market. Some recommended brands: Etalon, Mahr, Mitutoyo, Tesa, Starrett.
-
-
-
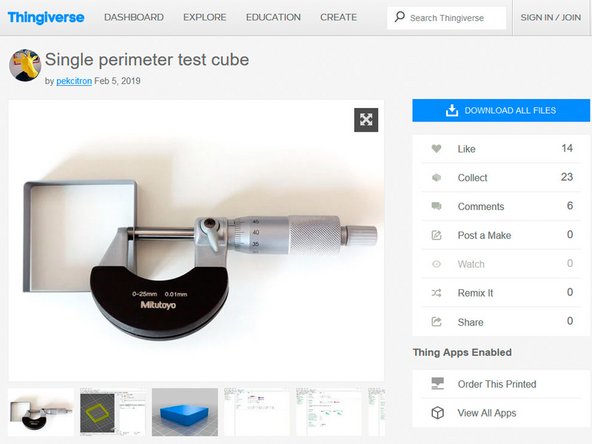
Download the calibration model from thingiverse.com/thing:3405991 or from github.com/gregsaun/.../test/cube
-
-
-
Measure your filament diameter with a micrometer. Write it on a piece of paper.
-
You could un-spool a little the filament, measure at several places and calculate the average.
-
-
-
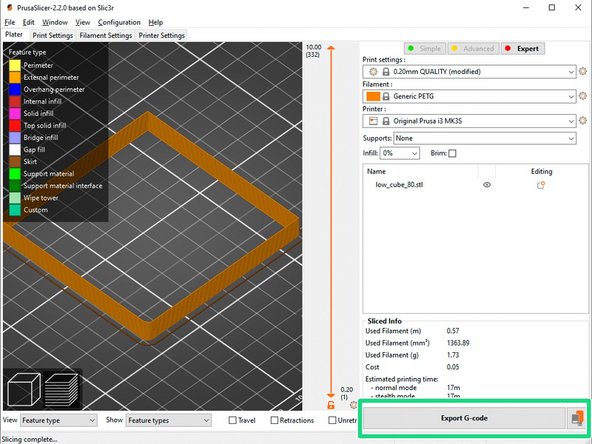
Start PrusaSlicer and load the calibration model. On the main page, select the following parameters:
-
Print settings: 0.20mm QUALITY
-
Filament: choose the filament profile corresponding to the filament you want to calibrate.
-
Enter your measured filament diameter into the corresponding input under filament settings.
-
Set your extrusion multiplier to 1.00
-
-
-
Set the following print settings:
-
Spiral vase mode (and accept dialog to auto-configure settings accordingly)
-
Solid layers Top and Bottom: 0
-
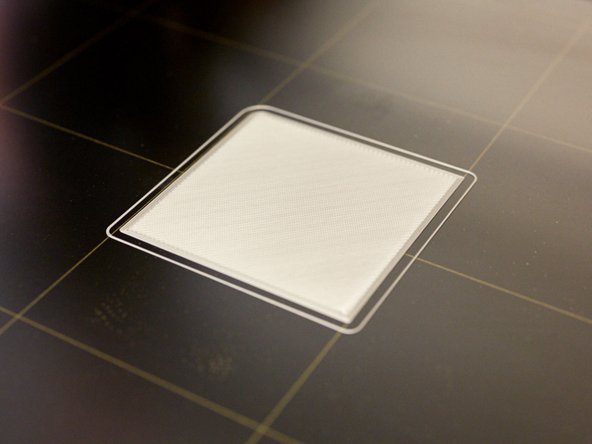
Slice the model and start the print.
-
-
-
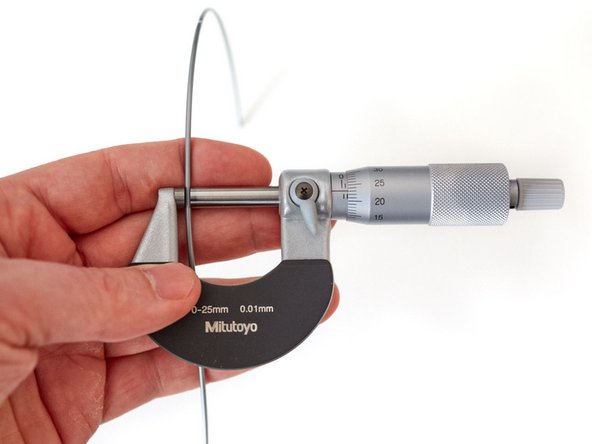
Measure thickness of all the perimeters and calculate the average.
-
The most reliable measure is on the center of each walls as shown on the image.
-
-
-
Calculate your new extrusion multiplier using the formula on the 1st image. Here is an example:
-
Your original extrusion multiplier = 1.00 and your average perimeter thickness = 0.47mm.
-
Your are using a 0.4mm nozzle, so your target/expected extrusion width is 0.45mm.
-
Your new extrusion multiplier = (1.00 · 0.45)/0.47 = 0.957
-
Enter the new extrusion multiplier value in the filament settings page of PrusaSlicer.
-
-
-
Slice and print the calibration model again with the new extrusion multiplier value.
-
Verify the wall thickness with your micrometer. Repeat the previous steps if refinement is needed.
-
Do not change the printing temperature during these steps. Temperature might change the flow and therefore the extrusion multiplier.
-
Tip: The extrusion multiplier is generally constant for a whole spool (if you do not change temperature) but the filament diameter will change. Therefore, before slicing a part, measure the filament diameter you are going to use and enter it into PrusaSlicer.
-
-
-
You can now more finely recalibrate your first layer.
-
You could print the first layer of the previous calibration model as a test.
-
-
-
Happy printing :)
-