Difficulty
Moderate
Steps
5
Time Required
- Adjustments and calibrations 5 steps

In Progress
This guide is currently being written. Reload periodically to see the latest changes.

Private
This guide will not appear in search results and can only be viewed by team members!
Quiz
0
-
-
Hot tighten the Hemera nozzle to 3Nm at 285°C. Follow the official instructions from E3D here (step 18): https://e3d-online.dozuki.com/Guide/02+-...
-
-
-
Let the extruder cool down.
-
Place a sheet of paper on the heated bed. Manually lower the X axis until the Hemera nozzle is touching the paper.
-
Make sure the X axis is flat (you can slowly move the Hemera left and right).
-
Loosen the PINDA locking screw and place an object of 1mm thickness under the Pinda (like the middle section of a zip tie).
-
Gently move the PINDA down until it is touching the zip tie.
-
Tighten the PINDA locking screw to secure it in place.
-
Use a plier if it is hard to reach the probe with your fingers during adjustment.
-
-
-
Plugin and turn on the printer.
-
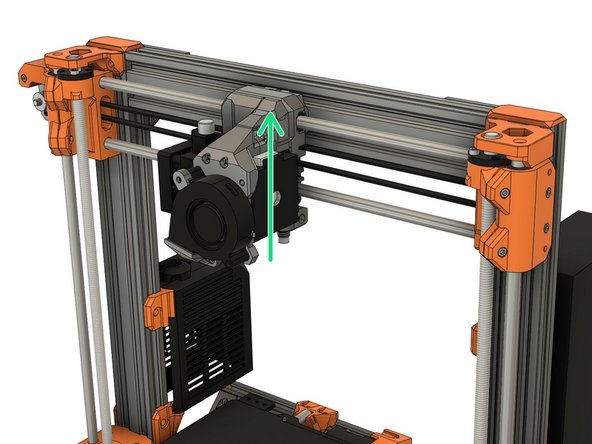
Using the screen menu, move the X axis up until it crashes in to the Z tops. The stepper motors will skip. making a noise - this will not damage the motors.
-
Using the screen menu, move the X axis down until the nozzle is approximately 10mm from the heated bed.
-
-
-
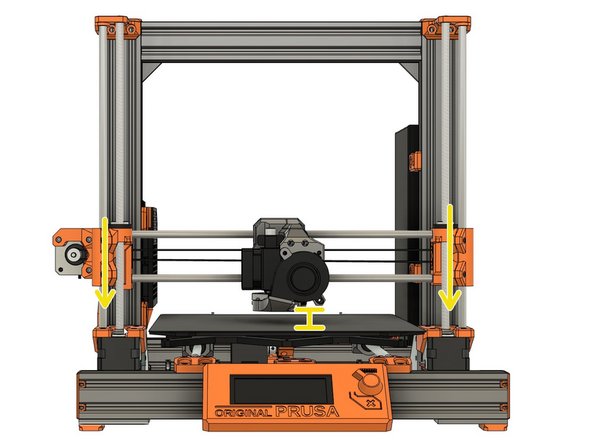
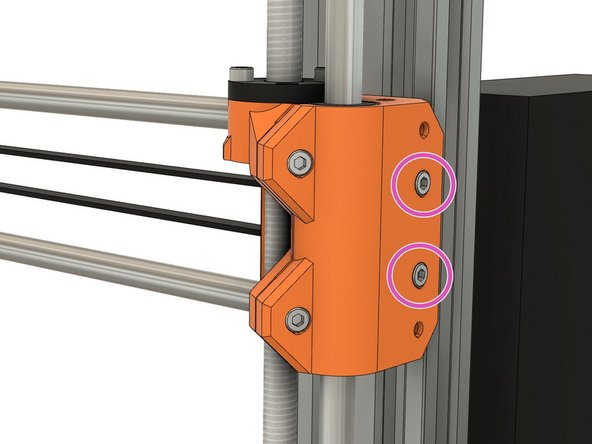
If you have applied tension to the belt, unscrew the belt tensioner on x_end_idler until the belt is relaxed.
-
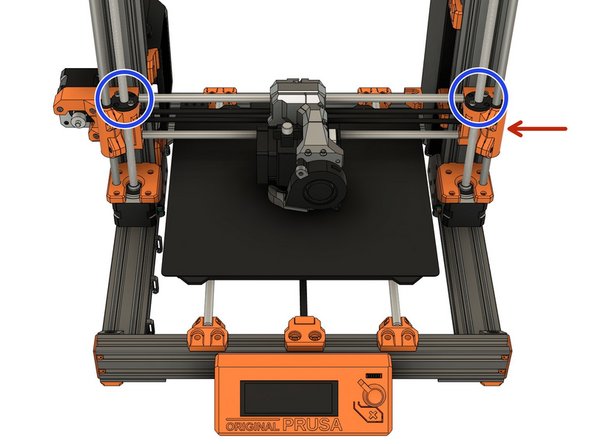
Loosen the screws which secure the trapezoidal nuts. This is to ensure that the Trapezoidal nuts 'self-centre' on the lead screws.
-
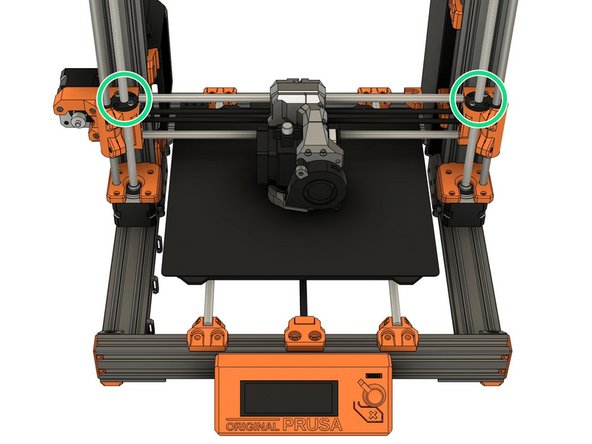
Make sure the trapezoidal nuts are moving freely.
-
Tighten the 4 screws alternately (on both sides). Don't apply any lateral force on the trapezoidal nuts.
-
-
-
Move the X axis to the middle of the Z axis and shutdown the printer.
-
Tighten the belt until the belt is straight and doesn't sag. Don't tighten too much, you should still be able to pinch the belt with very little force force.
-
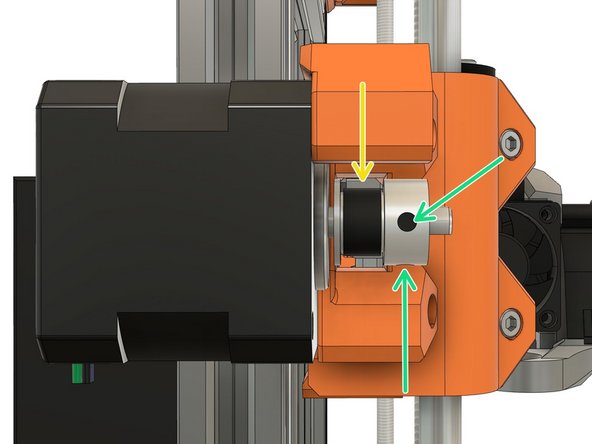
Loosen the two pulley set screws a little.
-
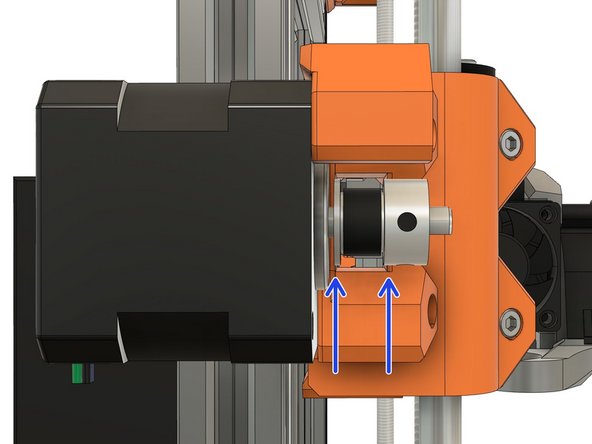
Adjust position of the pulley to have the belt centred. You can move the extruder by hand, to the left and right, to verify that the belt is centred.
-
Tighten the set screws alternately.
-
Verify that the belt is not touching the x_end_motor and that the drive pulley is not touching the X motor.
-