
-
-
Do not use power tools for the whole assembly or you might damage hardware. Always use hand tools.
-
Tightening torque values recommended:
-
Max 4.5Nm for M5 screws on metal to metal assemblies (e.g. joining plate on an extrusion).
-
Max 1.5-2Nm for M5 screws on printed part to metal (e.g. y_rod_holder.stl on extrusion).
-
-
-
This step and the next one list the mandatory tools you need to build the Bear frame.
-
Small pliers with cutting capabilities
-
Hex key 1.5mm for MK2(S) and MK2.5(S) only, not useful for MK3(S).
-
Hex key 2mm.
-
Hex key 2.5mm. Ball end would be very useful.
-
Hex key 3mm.
-
Spanner 5.5mm
-
Slotted screwdriver #1
-
-
-
This step and the previous one list the mandatory tools you need to build the Bear frame.
-
Having a quality square will help you to build the Bear precisely. We recommend a 200mm long machinist precision square, ideally with standard DIN 875 / BS 939 (any grade).
-
If you don't have such a square or want to use a lower quality one, check these videos on how to test and fix your square:
-
How to Square a Square by Wesley Treat: https://youtu.be/FNpAQHrNpNU
-
How to Square a Square and Make it True by Wood By Wright: https://youtu.be/enEYzTXg2Jg
-
Caliper, 150mm long minimum. If you don't have a caliper you can use a steel ruler. (A vernier caliper is generally more accurate than a digital caliper, at the same price point.)
-
-
-
This step and the next one list the optional tools that can be helpful during assembly. You can build the Bear frame perfectly without them.
-
Sorry for this extra list, we love tools...
-
A long caliper of 200mm or more helps to align the Y axis smooth rods spacing on any "Prusa type" printer.
-
A general purpose clamp will facilitate the squaring of the frame when using a machinist square.
-
Tweezers are always useful :)
-
You can add a dab of blue Loctite #243 to the screws during assembly to prevent them from unscrewing.
-
An 8mm drill bit or 8mm reamer can be useful in case the smooth rods holes on Z axis are a bit too tight.
-
-
-
This step and the previous one list the optional tools that can be helpful during assembly. You can build the Bear frame perfectly without them.
-
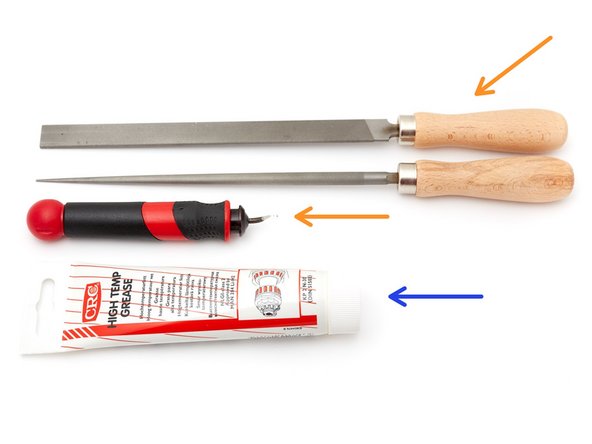
Files and deburring tool can be helpful to clean the printed parts.
-
It is good practice to re-grease the bearings during the assembly.
-
We recommend the use off a lithium based lubricant that has a viscosity between 50 and 100mm2/s at 40 °C, NLGI class 2 and a thermal resistance of 100°C or more.
-
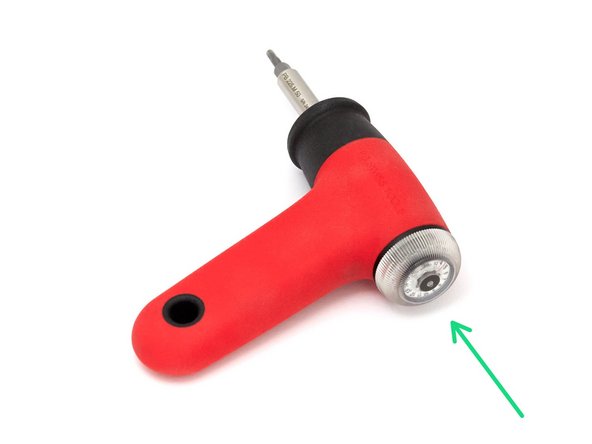
A torque tool can be useful to ensure you apply max torque without damaging hardware.
-
We recommend max 4.5Nm for the metal to metal assemblies (e.g. joining plate on an extrusion) and max 1.5-2Nm for printed parts (e.g. y_rod_holder.stl on extrusion).
-
-
-
Before starting to disassemble your printer, did you see we have a list of optional parts for the Bear frame?
-
-
-
-
-
Congratulations you have finished this chapter and are ready to start with the disassembly :-)
-
Got to the next chapter: 02. Preflight check and disassembly
-


Cancel: I did not complete this guide.
24 other people completed this guide.
