
-
-
If you have set up a different extruder steps/mm value (e_step) than stock in the past we recommend resetting it to its default.
-
E step calibration isn't a reliable way to calibrate your extrusion because you are not measuring where it matters (what goes out of the nozzle). It is also a painful process to adjust e_step per type of filaments, the extrusion multiplier in PrusaSlicer is a lot easier to handle.
-
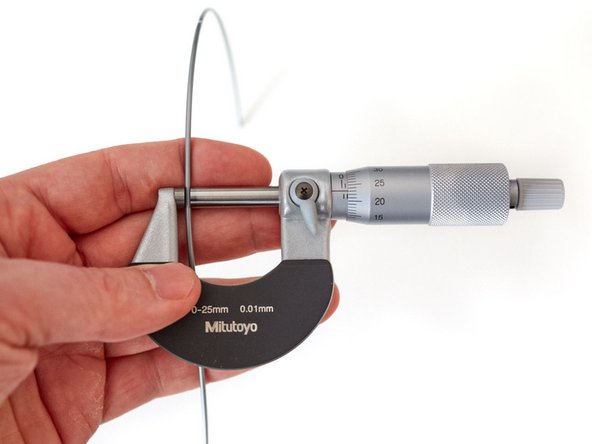
We recommend a micrometer instead of a caliper for the following steps. Calipers are not precise enough to measure such small values and a micrometer has a ratchet system made to apply same pressure for all measures.
-
If you still want to use caliper, make sure to always use the same pressure when you measure and don't press too strongly.
-
Tip: If you like to buy a micrometer, choose a quality one. We can recommend Mitutoyo 102-301 for its low price and quality. You can also check second hands market. Some recommended brands: Etalon, Mahr, Mitutoyo, Tesa, Starrett.
-
-
-
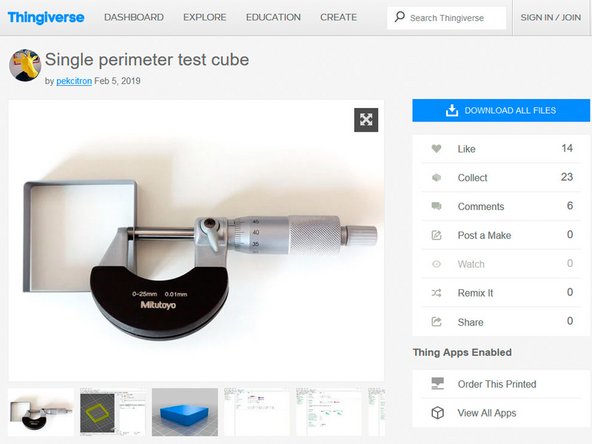
Download the calibration model from thingiverse.com/thing:3405991 or from github.com/gregsaun/.../test/cube
-
-
-
Measure your filament diameter with a micrometer. Write it on a piece of paper.
-
You could un-spool a little the filament, measure at several places and calculate the average.
-
-
-
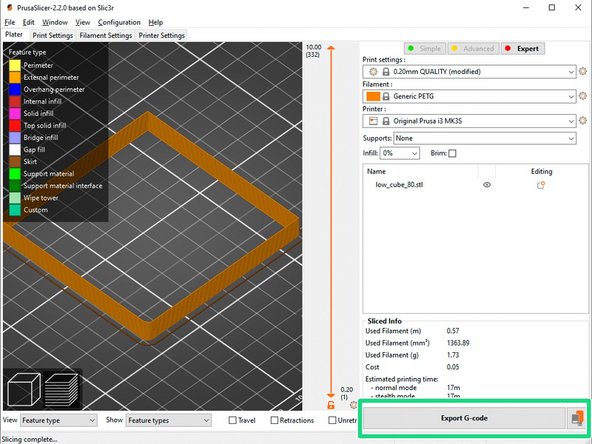
Start PrusaSlicer and load the calibration model. On the main page, select the following parameters:
-
Print settings: 0.20mm QUALITY
-
Filament: choose the filament profile corresponding to the filament you want to calibrate.
-
Enter your measured filament diameter into the corresponding input under filament settings.
-
Set your extrusion multiplier to 1.00
-
-
-
Set the following print settings:
-
Spiral vase mode (and accept dialog to auto-configure settings accordingly)
-
Solid layers Top and Bottom: 0
-
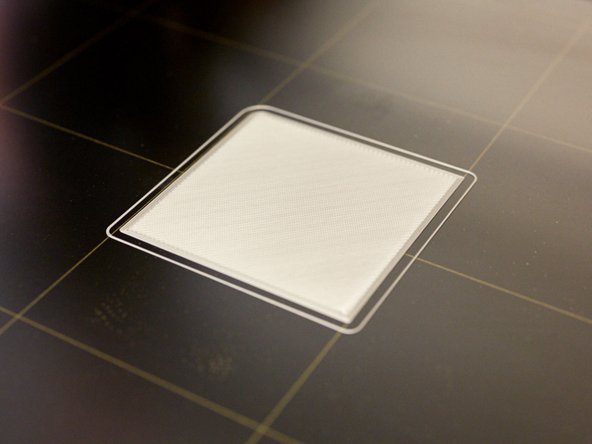
Slice the model and start the print.
This screenshot shows a first layer height at .20 and then .15 layer height, is this intended for the test cube? I’m assuming not given there is now graphic arrow next to the change.
Nicholas C - Resolved on Release Reply
Correct, I will redo some screenshot to make things clearer. Thanks for mentioning it.
-
-
-
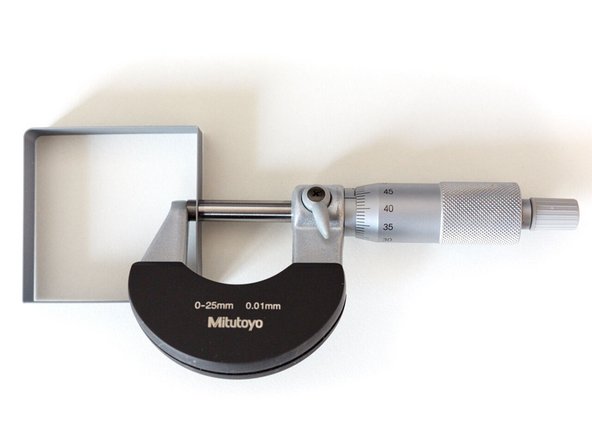
Measure thickness of all the perimeters and calculate the average.
-
The most reliable measure is on the center of each walls as shown on the image.
-
-
-
Calculate your new extrusion multiplier using the formula on the 1st image. Here is an example:
-
Your original extrusion multiplier = 1.00 and your average perimeter thickness = 0.47mm.
-
Your are using a 0.4mm nozzle, so your target/expected extrusion width is 0.45mm.
-
Your new extrusion multiplier = (1.00 · 0.45)/0.47 = 0.957
-
Enter the new extrusion multiplier value in the filament settings page of PrusaSlicer.
Hi - I just noticed in this step that you have the diameter set to 1.75 but don’t call out that it was changed from step 4 where it says to put in the averaged diameter. Did you intend to have the diameter changed to 1.75 in this step or should it be left at the averaged diameter?
Mark Griesi - Resolved on Release Reply
-
-
-
Slice and print the calibration model again with the new extrusion multiplier value.
-
Verify the wall thickness with your micrometer. Repeat the previous steps if refinement is needed.
-
Do not change the printing temperature during these steps. Temperature might change the flow and therefore the extrusion multiplier.
-
Tip: The extrusion multiplier is generally constant for a whole spool (if you do not change temperature) but the filament diameter will change. Therefore, before slicing a part, measure the filament diameter you are going to use and enter it into PrusaSlicer.
What are we verifying the wall thickness against on the second print with the new extrusion multiplier?
Alan Martinez - Resolved on Release Reply
The calculation is only an approximation but in reality it's more complex (plastic elasticity, back pressure in the nozzle, etc.). So it's good to repeat until it's spot on.
-
-
-
You can now more finely recalibrate your first layer.
-
You could print the first layer of the previous calibration model as a test.
-
-
-
Happy printing :)
Do we configure all the default settings back again to print ?
turn off settings such as spiral vase etc ?
Gavin Beverley - Resolved on Release Reply
-


Cancel: I did not complete this guide.
13 other people completed this guide.

4 Comments
Do you need to do the test cube print for every new filament? Or the extruder multiplier remains the same?
It might change between spool (even sometimes from same brand, type and color) so I recommend to do it
This guide is great! I got my extrusion width to exactly 0.45mm. With Prusament, luckily the filament measurements are already supplied, so I only had to do the two test prints before and after.
Thanks so much for your work!
Ok I guess that was relevent for i3 Mk2 with the old extruder. Mk3’s extruder or Bear mod extruder, are running Bondtech gears, so that’s why I should leave it default, right?
mort - Resolved on Release Reply
Esteps is not an accurate setting as it is hard to measure precisely and like for extrusion multiplier it depends on the filament.
It might only be necessary to calibrate estep if you use several printers. In this case make sure to calibrate estep with the same filament from a quality manufacturer.
Grégoire Saunier -
So, do you suggest to run on default esteps value and just compensate with extrusion multiplier? Matt Harrison in his guide calibrates esteps first and multiplier later.
mort - Resolved on Release Reply